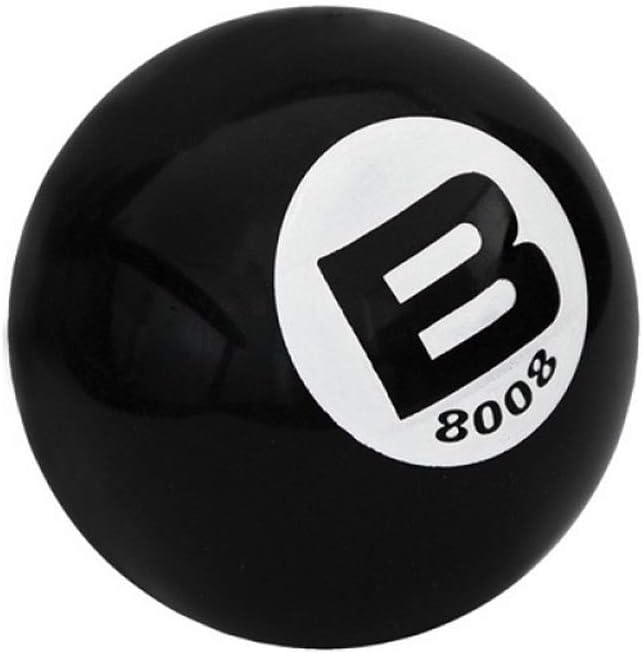
$15.47
From the bench
Opening a watch case begins with knowing how it was sealed. We cut tools for every closure because a knife forced into a threaded joint or a key twisted on a monobloc rim ruins the metal before the movement is reached. The work requires steady support, clean engagement, and patience when previous hands left burrs behind.
A snap back sits in a machined rebate and pops free when a ground blade enters the lip. A screw back carries threads on its perimeter or beneath a retaining ring, requiring torque applied across matched notches or flutes. A monobloc case has no rear opening at all. The movement enters through the crystal seat, and attempting to pry the back of a one-piece case destroys the case shell completely.
Examine the seam under a loupe before selecting any tool. Look for a pry notch on a snap back or flats on a threaded ring. If the case shows no split line along the back rim, set your keys aside and prepare to remove the bezel and crystal instead. Misjudging the construction at this stage costs hours of metal repair later on the bench.
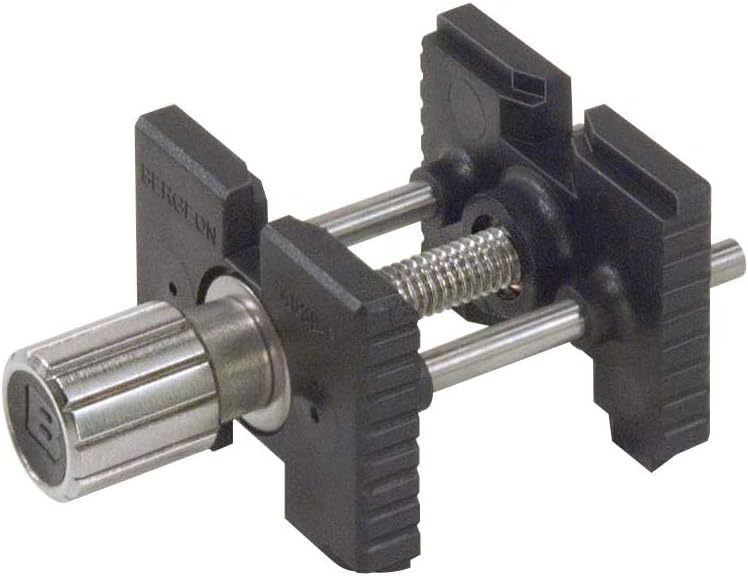
We never hold a stubborn case in the hand while applying turning force. The fingers slip, the palm tires, and the tool skews out of square. Mount the watch in a dedicated case holder fitted with nylon or wooden pegs. Clamp the holder firmly in your bench vise so both hands remain free to direct the key and control the downward pressure.
A rigid setup keeps the axis of rotation true to the case threads. When you twist a hand-held wrench against an unsupported case, one side of the tool lifts while the other bites deep. That tilt rounds off the corners of the case notches. Secure mounting ensures every bit of applied effort goes into rotating the back rather than rocking the tool.
Threaded backs use polygons, holes, or fine flutes that demand exact dies. Select die inserts that fill the case recesses across their entire width without slop. Adjust the span of the key so each pin or tooth sits fully home before you begin the turn. If the pins rest on the edges rather than the bottom, they will cam out under load.
Apply firm downward force along the central spindle before turning the handle. The downward load keeps the teeth seated in the flutes while the rotational load breaks the seal. Turn slowly and watch the engagement points. If you feel the die rise or twist, stop immediately, reset the alignment, and clean any dried grease from the recesses before resuming.
Worn notches and gouged edges show where past attempts slipped. A torn flute blocks the die from seating flat, causing the tool to lever out again. Before applying your wrench, dress high burrs down with a fine Arkansas stone or a smooth needle file. You are not removing metal to hide the old scar, but clearing the clearance path for the die face.
If old gasket material has hardened into glue, heat the case gently with warm air to soften the dried compound. Penetrating fluid applied with an oiler along the seam can ease frozen threads. Clean the perimeter with Rodico to lift away loose grit before setting the tool back into the dressed notches for a second, careful turn.
Prices are as our retail partner last showed them.
$15.47
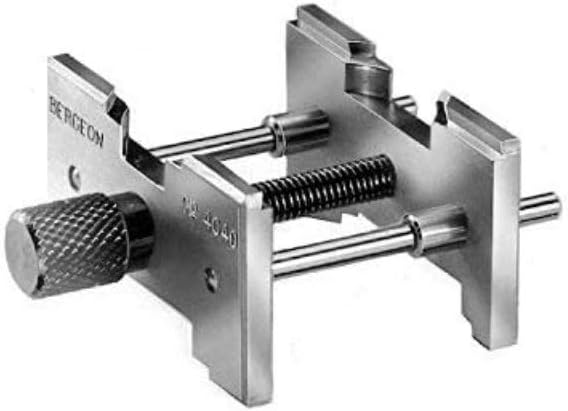
$38.00

$44.06
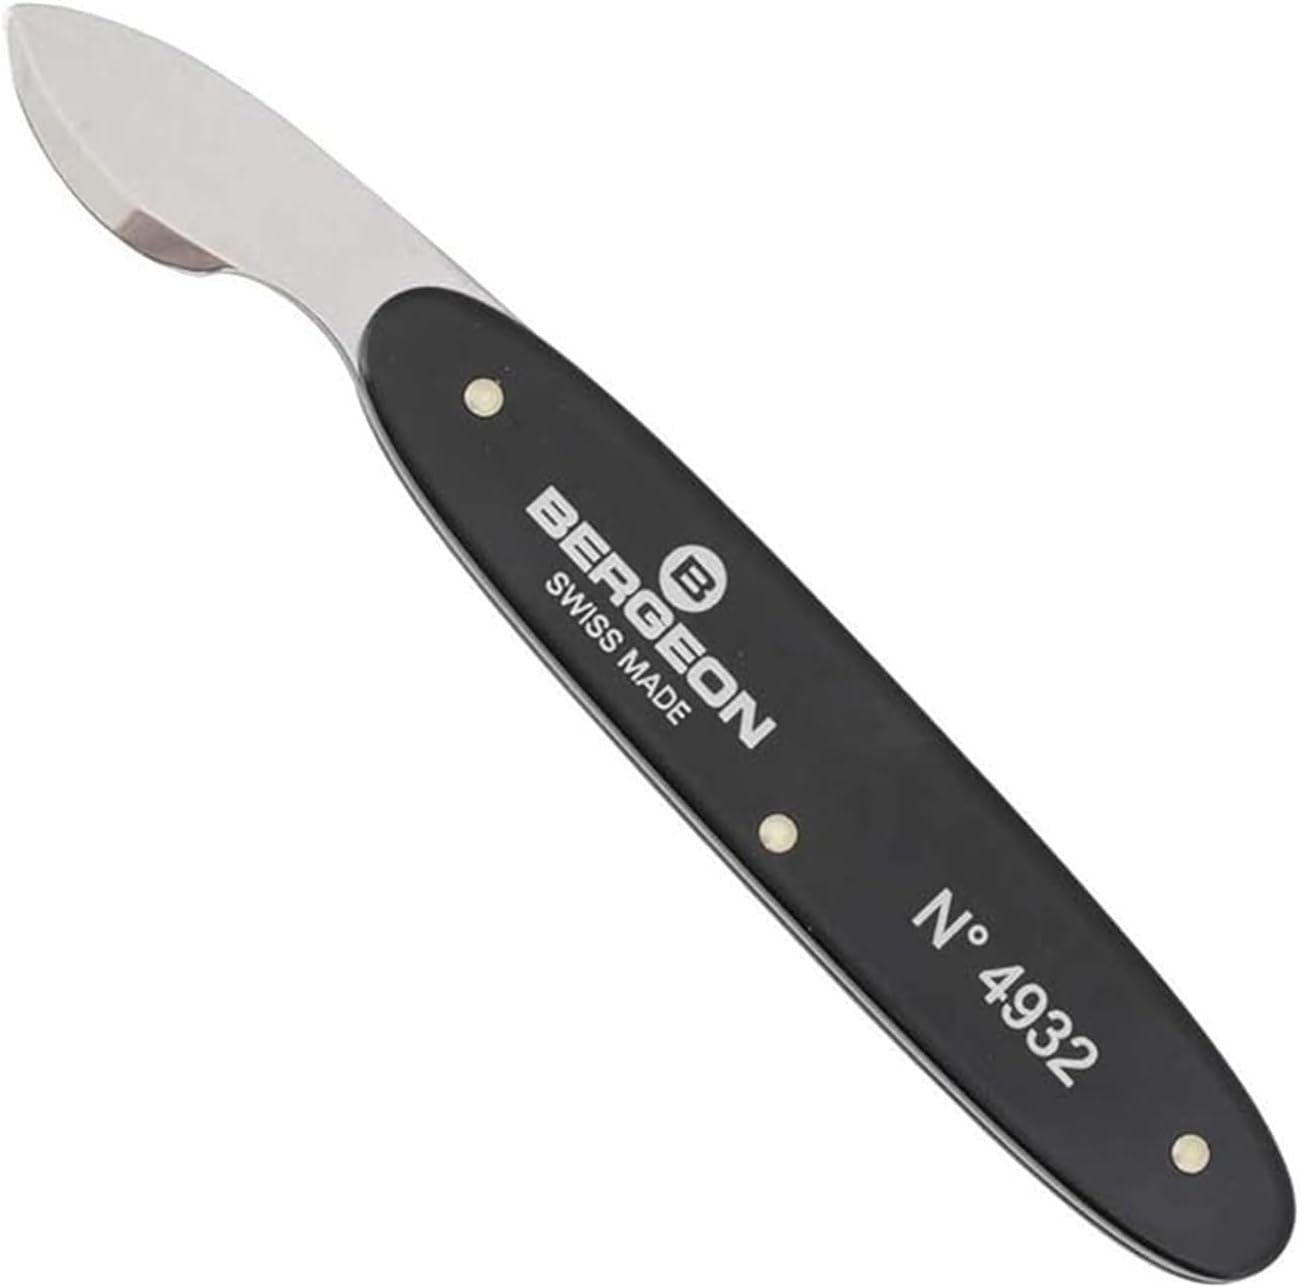
$53.00
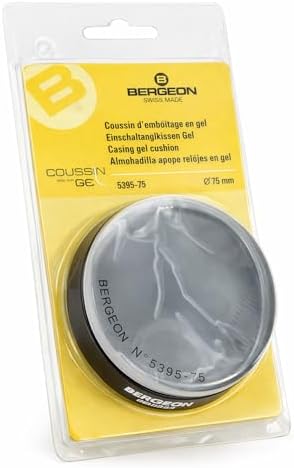
$43.99
$42.50
A stubborn case back yields to correct alignment and firm downforce rather than wild leverage. We grind our keys to match true case profiles so you can read the resistance through the handle. Take the time to mount the case properly, dress old damage, and the threads will turn without incident.
Why oilers come in graded sizes, what an oil cup with a lid is for, why the oil is picked up from the cup and not from the bottle, how a jewel takes a drop, and how oilers are cleaned between grades.
Cleaning putty and what it lifts, why solvents are kept away from some surfaces, the point of a bench mat and a tray with a lip, cloths and brushes, and how tools are put away so the next job starts on a clear board.
What the parts of a Bergeon reference number mean, why the number is how a tool is asked for, how a suffix marks a size or a variant of the same family, and how to find the spare blade for a handle you already own.